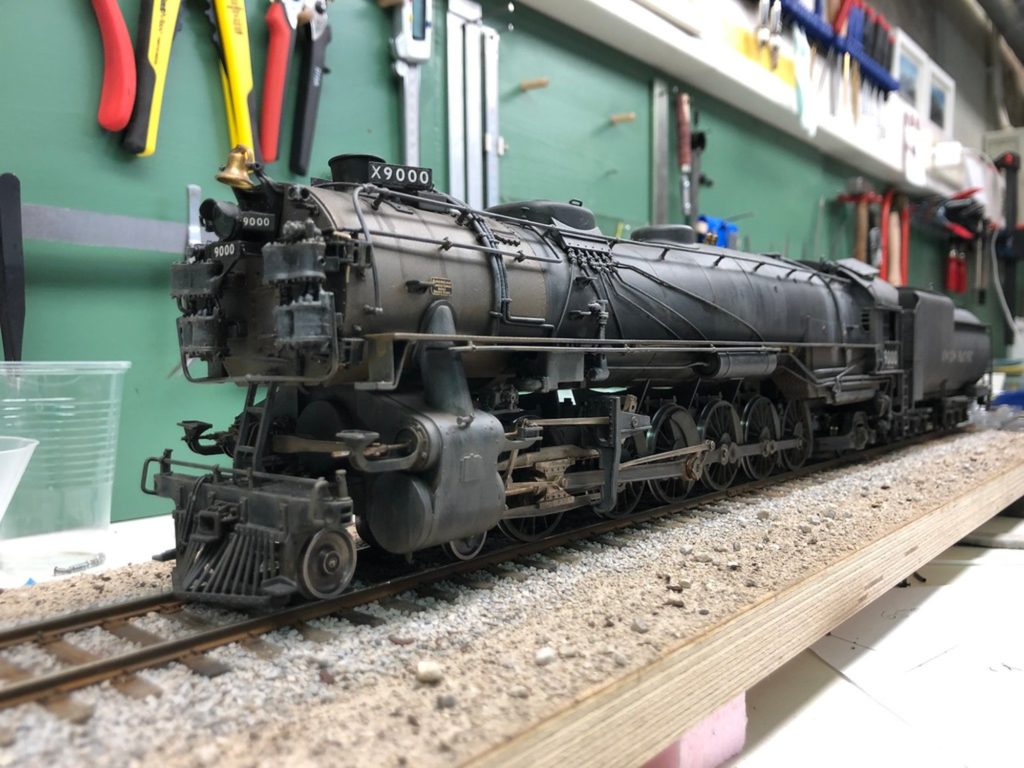
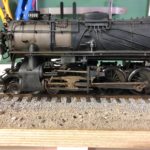
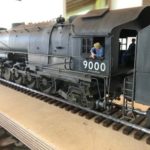
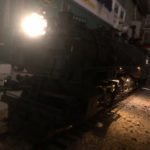
This Union Pacific 4-12-2 by Sunset Models (2003 run) Built in 1927 by ALCO, the 4-12-2’s were the lovomotives with America’s longest rigid wheelbase, made for fast runs over the straight rails of Nebraska. The model is so long that it is setting all standards for my future trackwork – if the Ninethousand does run, everything else will do just fine.
Being a 3 cylinder endine, the sound of a Nine is quite different to other steam locos. The 3rd cylinder is transmitting it’s power onto the 3rd axle of the drivers, operated by the rarely seen Gresley valve gear. The 4-12-2’s lasted into the 1950’s and frequently saw action at Cheyenne.
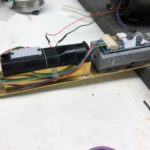
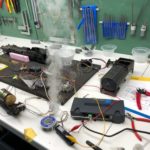
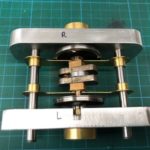
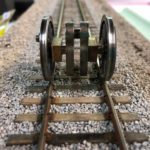
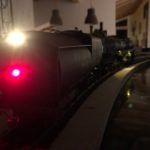
This is the first locomotive that I converted to proto:48 and I’m quite a bit proud of it. I have equiped the engine with a KM-1 smoke generator that is built for 1-gauge trains. I’ve built a Loksound-4 decoder into the tender that steers many functions like automatic coupling, running board lights, cab light, backup and head light, as well as a red marker light on the tender. The decoder controlls the smoke unit and gets it’s trigger info from a hall sensor on the sixth driver’s axle. It was all but an easy conversion but I’ve learned a lot. Especially the “quartering” of the main axles was a challenge. The term here should be “thirding”, due to the 3rd cylinder the wheels have to come onto the axle at 120 degrees apart instead of 90 degrees on 2 cylinder engines. I’ve used the NWSL quarterer tool and milled out additional grooves to be able to do that kind of operation.
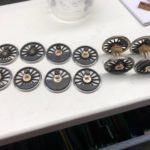
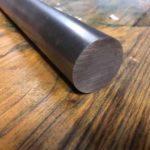
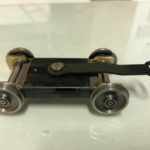
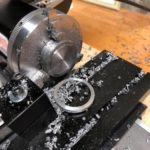
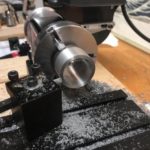
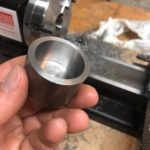
For the weathering I used brown enamels and as a second step light grey acrylic washes to represent an engine after many miles out on the road. I had to replace the pilot wheels with new ones scaled to the correct size. Sunset often uses smaller wheels to operate on tighter curves. The wheels of axle three and four came blind. These tires had to be made from scratch from solid ledloy steel on the Sherline to have all wheels flanged.
Previous
Next
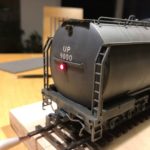
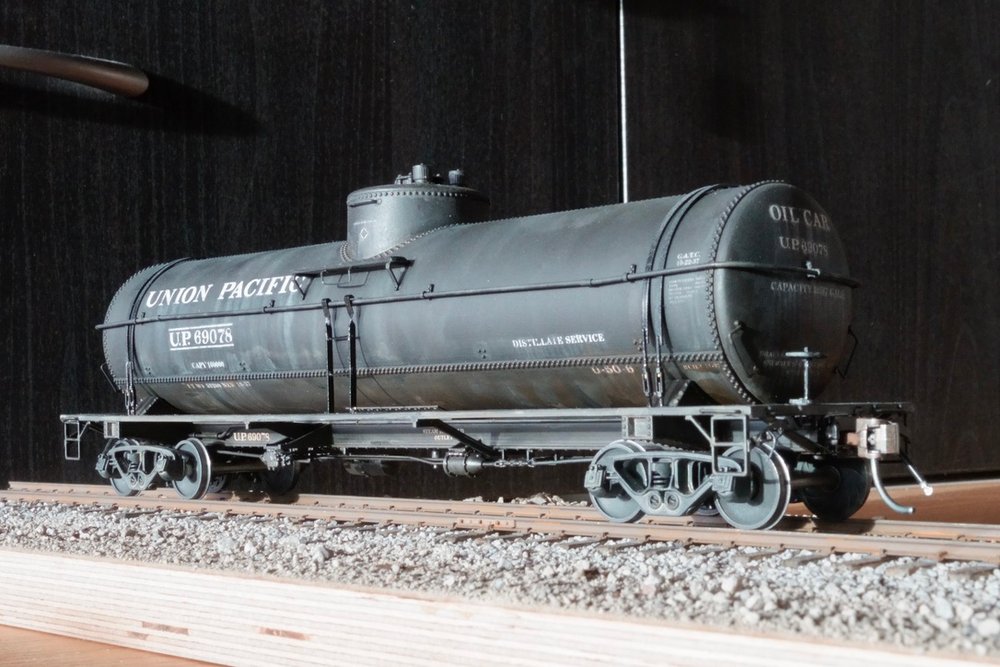
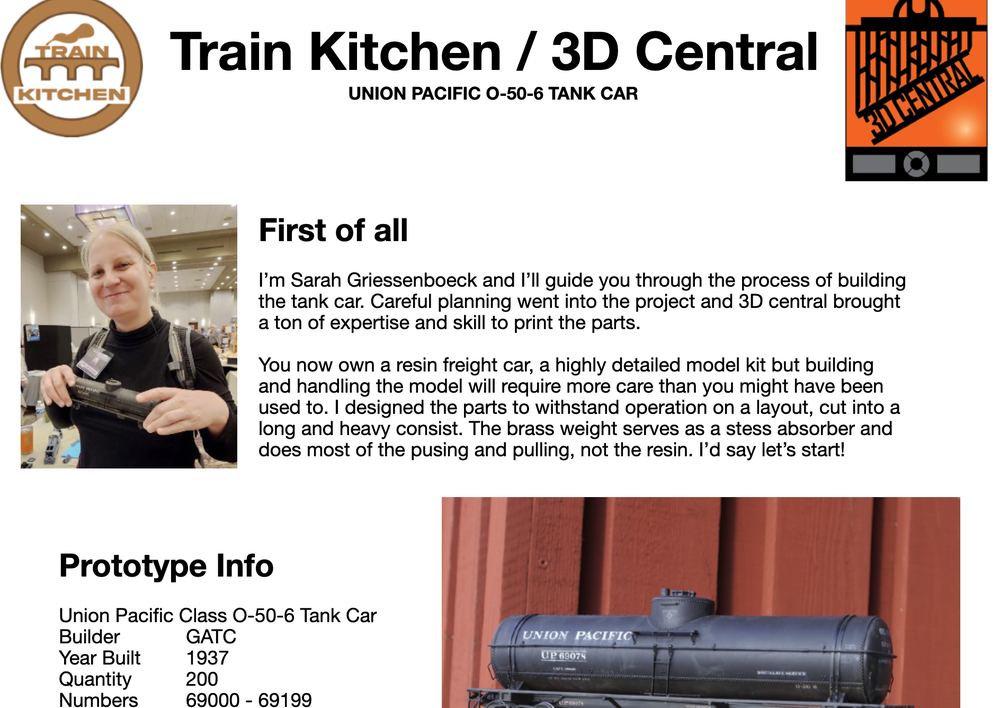
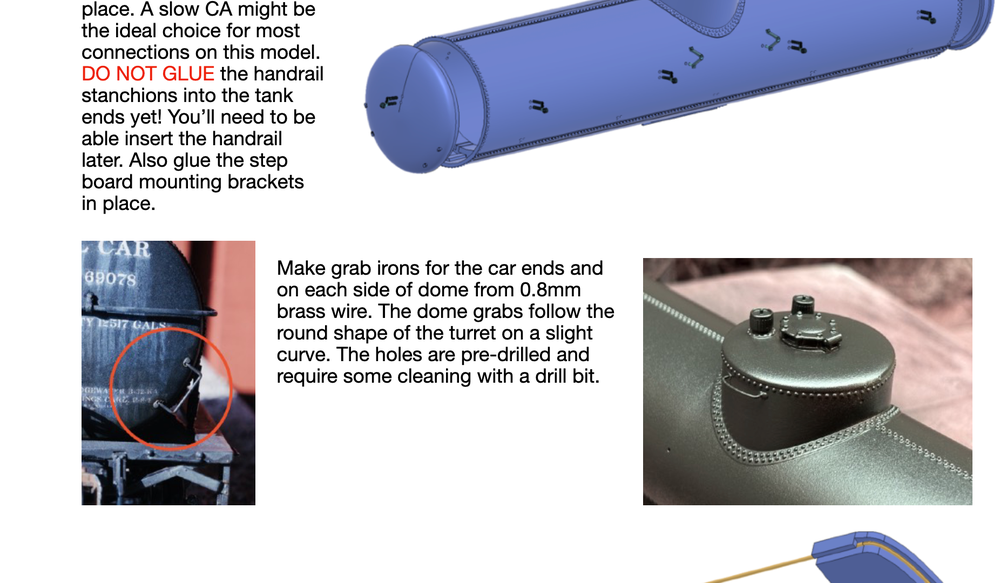
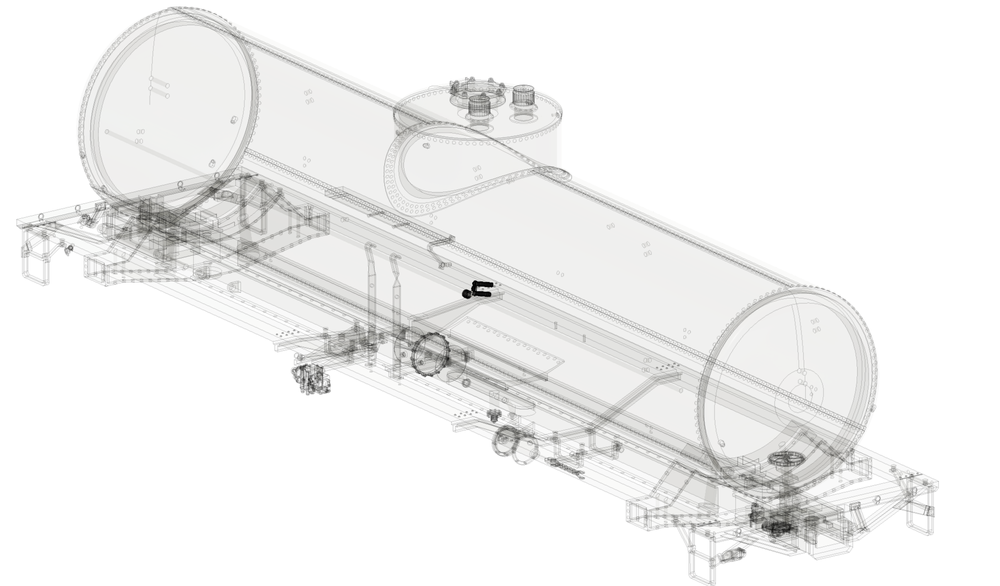
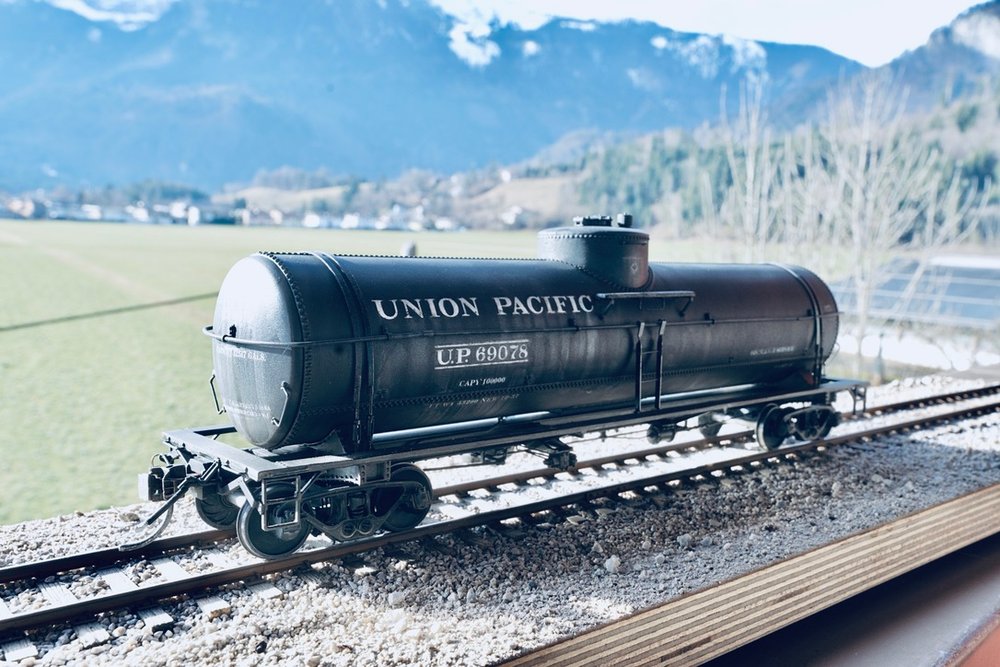
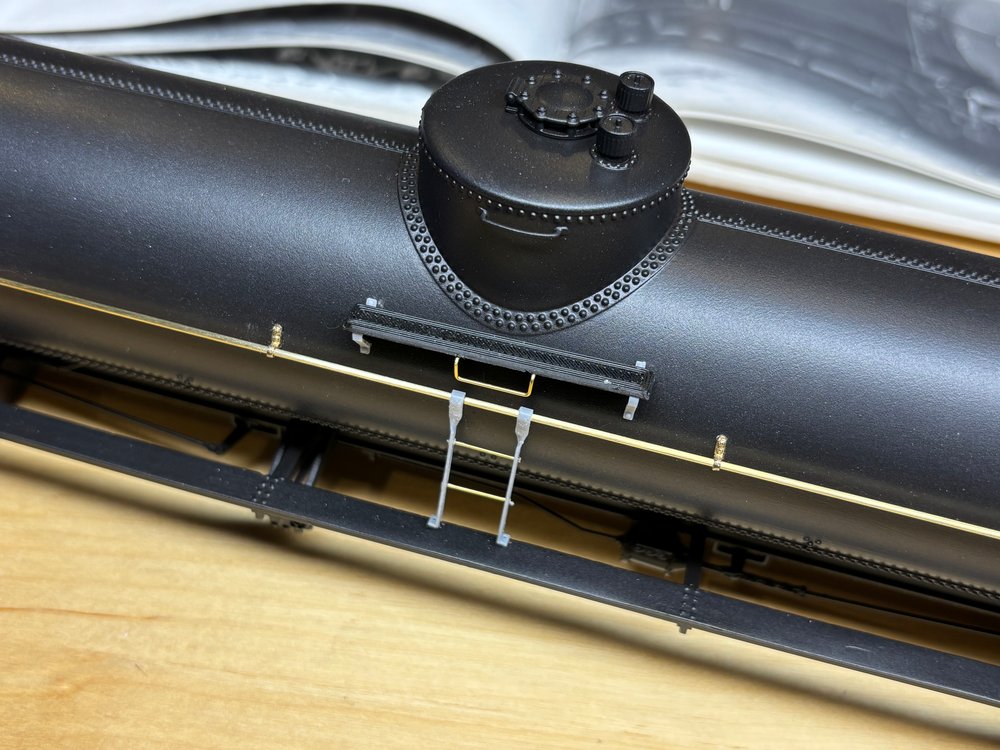
Union Pacific O-50-6 Tank Car
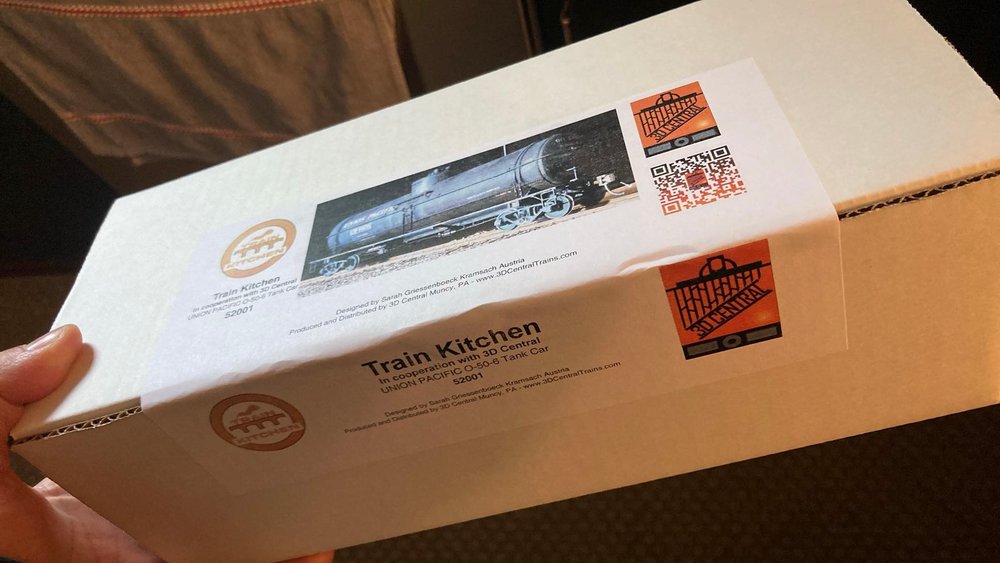
This is my first fully printed freight car. It is available through 3D CENTRAL. They are absolute professionals when it comes to print quality. If you like, please buy one! I am quite proud of the finished product.
The kit is not an easy build but a lot of fun and I set up some instructions to guide you through the process. Please donwload here.
Erie Build 1932 AAR Boxcar
A transformation of an Intermountain Reefer kit into this low sided boxcar. Modifications include a Viking roof, Buckeye ends and a Youngstown door. All files to print the needed parts are ready for download in the download section of this website.
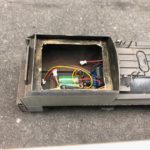
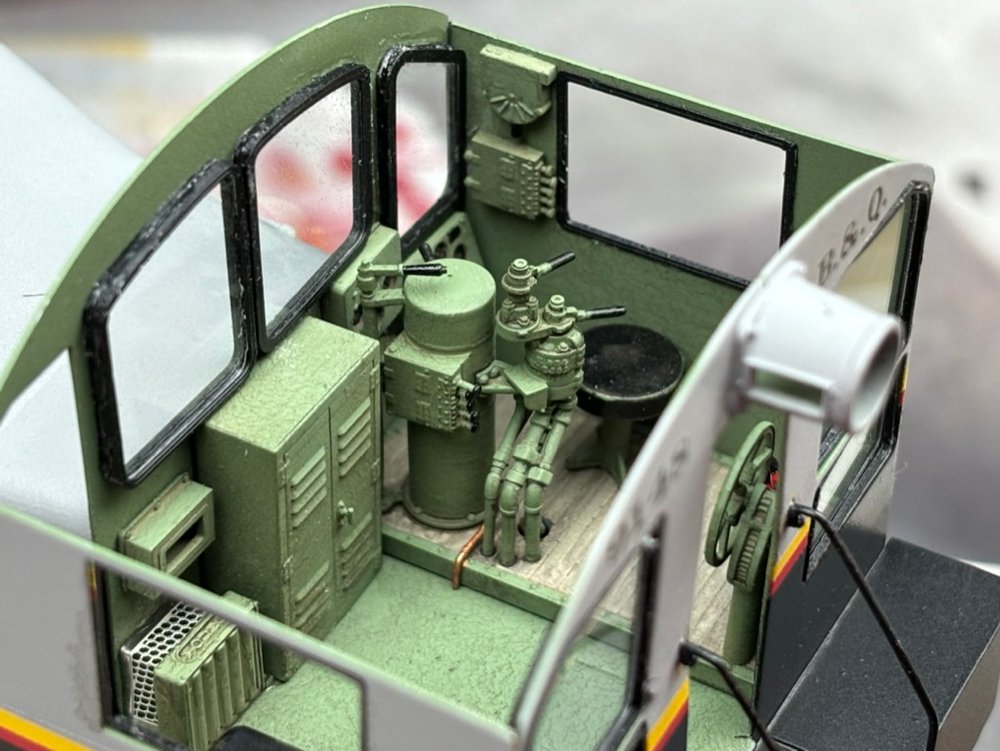
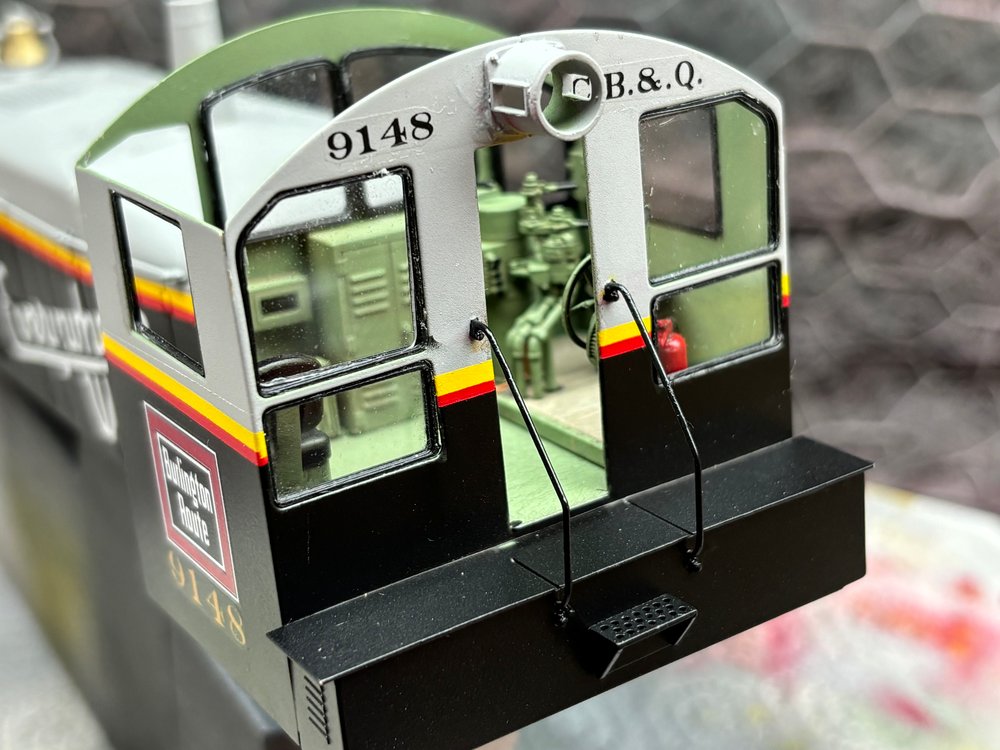
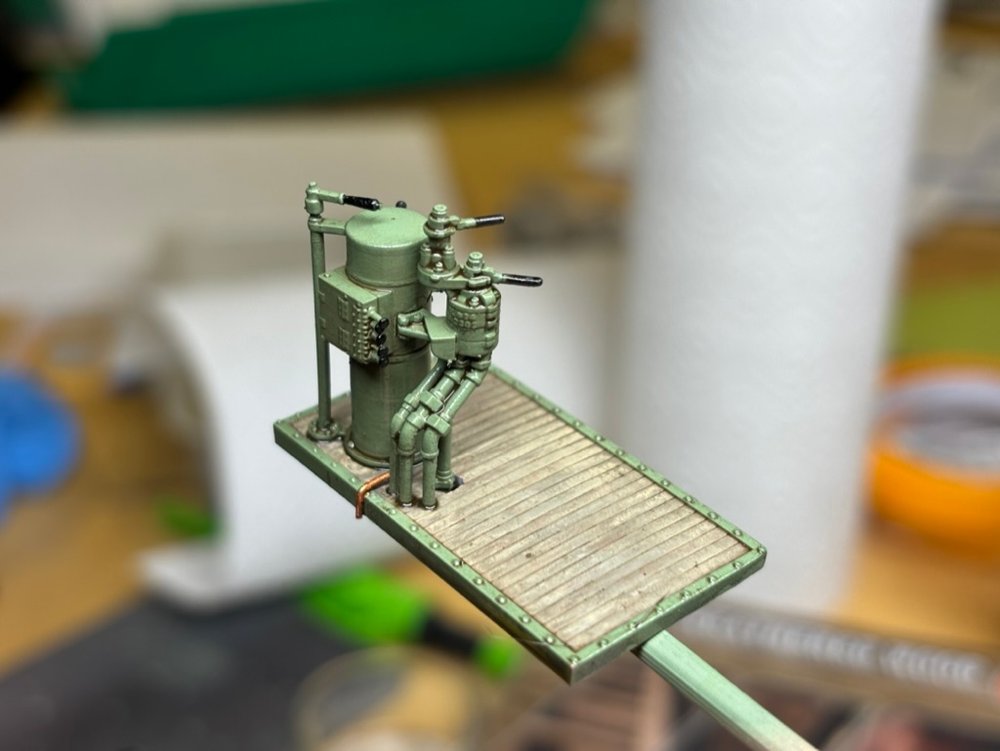
EMD SW1 Cab Interior
This model kit includes all components to model the interior of early diesel cabs. A raised floor, electrical compartment, control column, K-14 brake valve, hand brake, tool box, radiator, chair, gages, light switches and selector. It took a while to design all this but I really love the outcome.
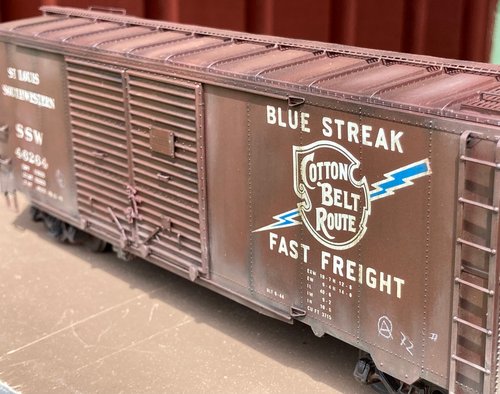
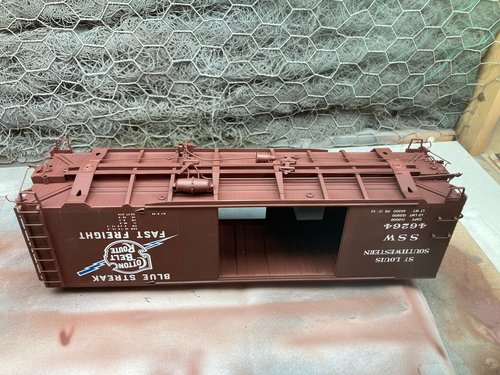
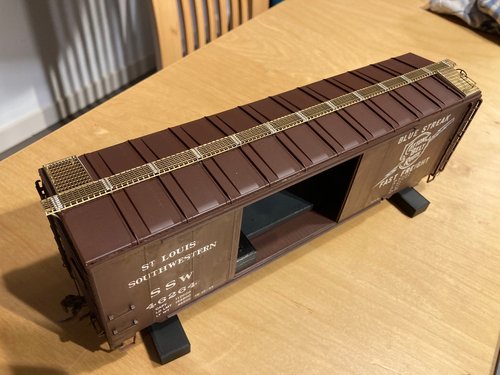
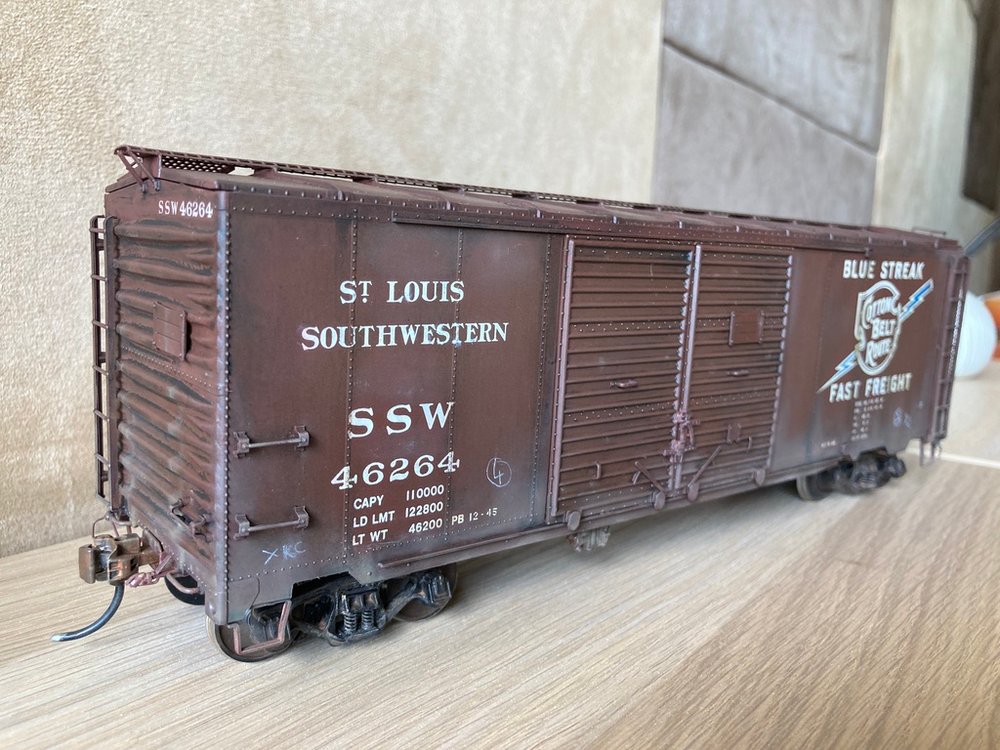
This is an Intermountain 1937 A.A.R. double door boxcar kit that I have touched up with some detail parts. I think these are very good kits and they are available still in larger quantities on eBay or online auctions. The design was wide spread and many tousand cars of the type were built for almost all major railroads.
Steam Era Freight Cars has a complete car roster of the 1937 A.A.R. boxcars for you to download.
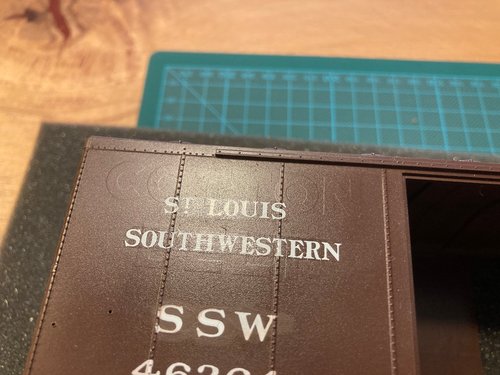
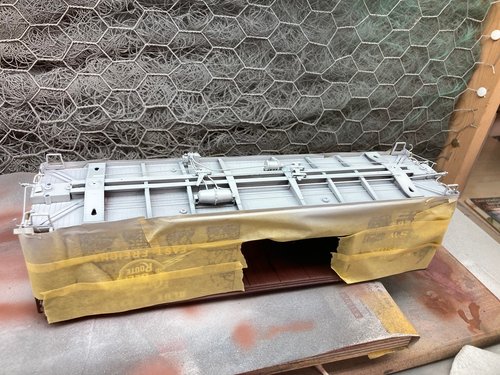
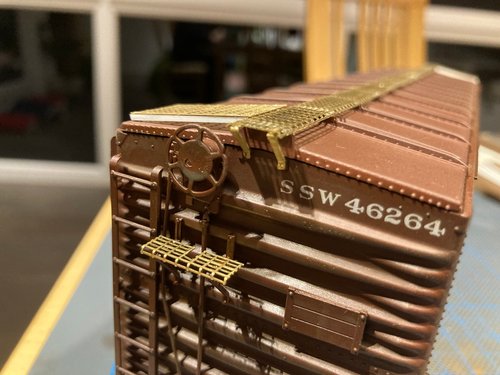
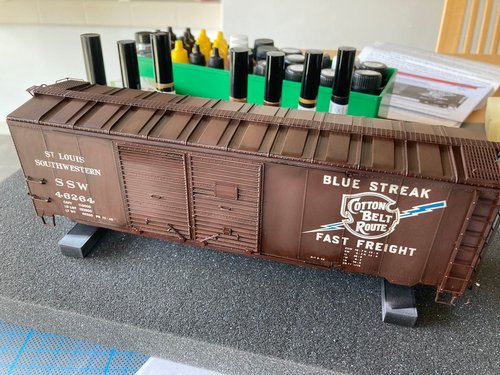
This Intermountain injection plastic kit needed some super detailing and back-dating into the steam era. You can still sense the modern era reporting marks “COTTON BELT” under the “St. Louis Southwestern” stenciling. It is my experience that overspraying with Tamiya grey primer is totally sufficient to make the lettering disappear. The rised caracter of the lettering is still a bit visible but once the model is done, you can’t find it. I had to match the brown color of the kit since I only replaced that part of the lettering.
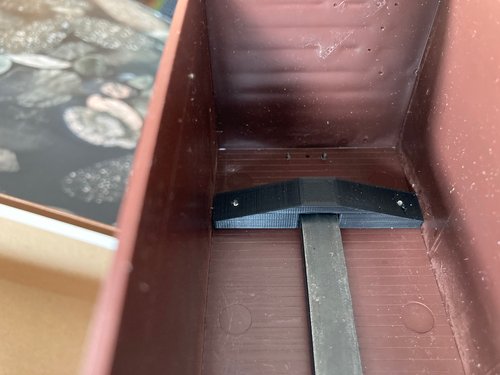
I want all my cars the have a weight of approximately 350 grams. To achieve that it is often necessary to add quite some heavy stuff to the model. To ensure good riding quality and prevent the weights from coming loose over time I designed and printed PLA weight holders that fit perfectly into the car shell. Using a drill template I can hide the screws in the underframe. I use ordinary steel strips to center the weight to the middle of the car, increasing stabiliy.
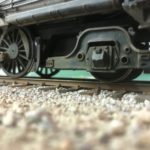
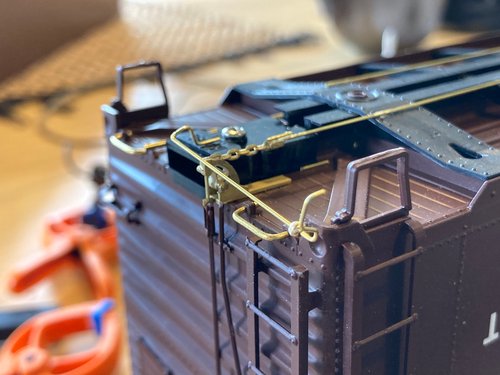
This time I really wanted to add coupler lift bars and wire grab irons for secure handling. The hand brake fulcrum is a Precision Scale Co. part. All brake rods have been carried out in brass. That is by now a standard and it really pays off when it comes to handling the car after painting. I really love the underframe of freight cars and I’ll incorporate a rised section of track to the layout where you can watch the underframe of a long string of freight cars rolling by at eye level.
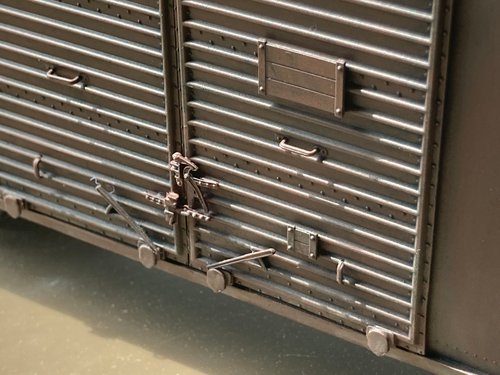
I realized that the Camel door hardware wasn’t well designed, I’ve then drawn new ones in Fusion 360 and printed these in resin. They turned out better than I thought and really add a lot of realsm to the doors. I’m happy to share these files in my download section with you. Just be sure to have enough supports under the tiny pars. They really stand out when painted, washed and very gently dry brushed with a light dust color.
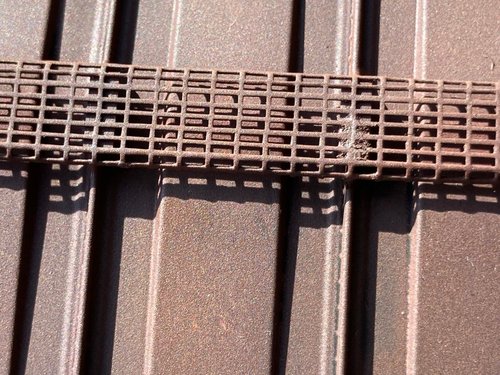
These metal roof walks are parts from All Nation Line and I had to trim them a bit with sharp pliers. They rest on styrene strips and are glued in place with CA. There are other running boards out there but these look great and Mr. Wubbel of All Nation Line is a great person and very helpful.
The weathering was done with oils and I’m constantly working on my style. I slowly build the layers and do a lot of trial and error in the process. Oils seem to me the media of joice here and I will continue to learn and improve.
The Cotton Belt Route is one of the many railroads that I have the pleasure to model on it’s way across the continental divide. This hobby has so many aspects and I’m having a ton of fun!
Learning from the Master
I was lucky enough to have lessons held by my mentor and friend Matthew Forsyth. He’s a true master builder with all the top skills in all modeling fields.
With his help I’ll become a fine modeler one of these days. Thanks, my friend!