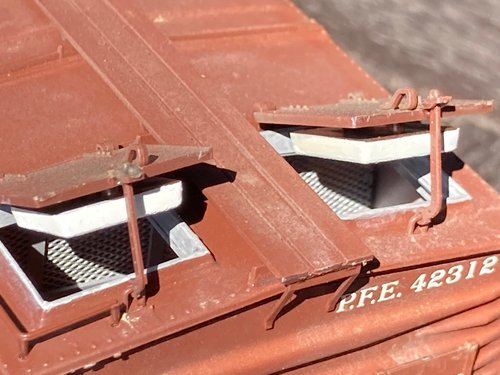
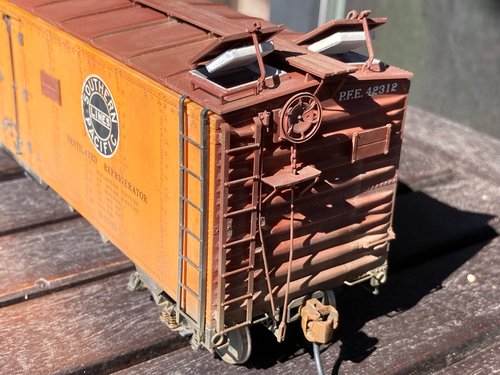
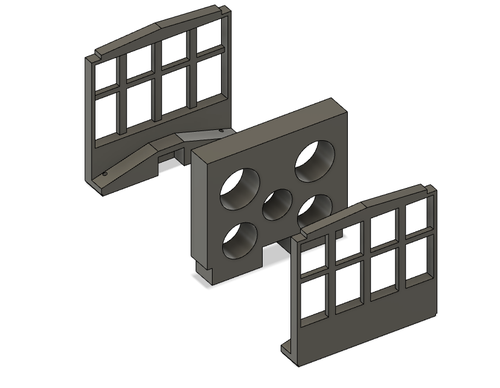
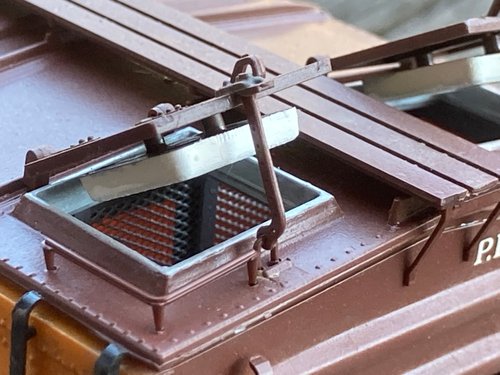
In order to clamp down the metal car weights I designed a ice bunker bulkhead to display the open ice hatches when the car is in ventilation service mode. This is a relatively easy upgrade but be warned – should you model open hatches, you might want to be super careful when handling the car. These plastic parts are delicate and it is too easy to breake off a little door. However, the ventilated car just looks great and adds a long forgotten railroad practice to your layout.
Improvements
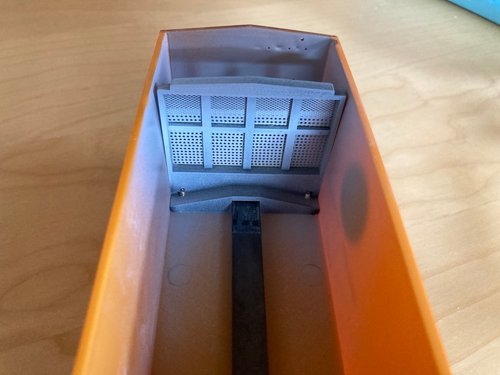
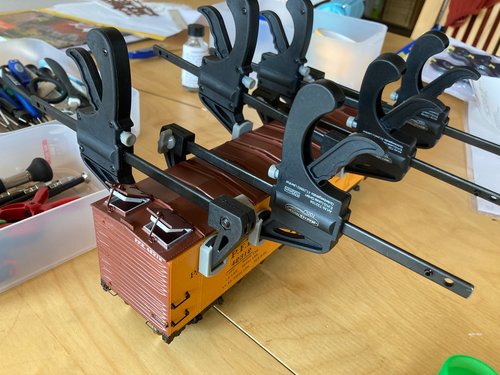
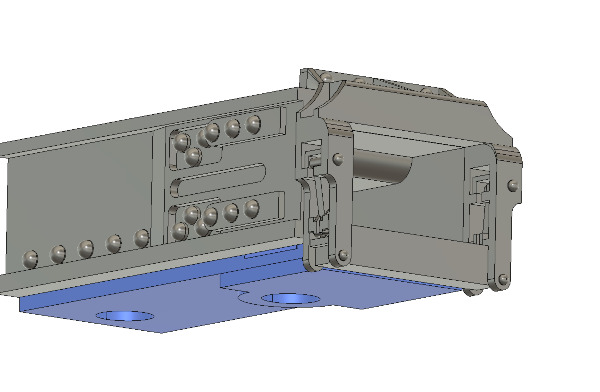
I have quite a fleet of these kits waiting to be put together and having the cars weighted properly is a must for me. I try to add weight to the car floor as low and centerd as possible to improve the riding quality and to prevent derailments on curves. The pulling powers can otherwise overcome the resistance of the wheel flanges and pull the car off the track. I use inexpensive 10mm broad steel strips to weight the car. I stack two strips and screw them down with the 3D printed weight holder. Once the roof is attached to the model there is no way to ever axcess the weights! They must not come loose that’s why I screw them in place with M2 (2mm) screws.
All frame parts and drilling jigs for the InterMountain R-40-10 steel ice reefer. I love to print such parts in PLA (extruded plastic) with my trusty Prusa i3 MK3S. Very strong and no warping, can be tapped for screws and glued.
I use inexpensive 10mm broad steel strips to weight the car. I stack two strips and screw them down with the 3D printed weight holder. Once the roof is attached to the model there is no way to ever axcess the weights! They must not come loose that’s why I screw them in place with M2 (2mm) screws. I have created drilling jigs that ensure a perfect positioning of the holes. the smaller jig is menat to be used on the bare underframe while the bigger jig can be used should the car bolster and underframe parts be already glued in place.
There is a file for the weight holder and one where it is combined with the bulkhead frame. There is also a middle frame involved that has the simple purpose of the car sides to be glued against. Without that middle frame it is very difficult to mount the roof in place since the injection plastic car sides are warped outwards. With the printed parts everything can be prepared nice and square.
Ventilation Service?
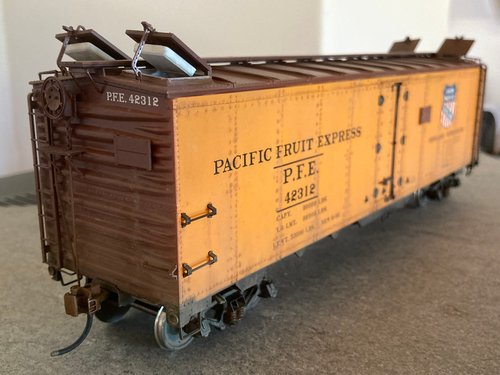
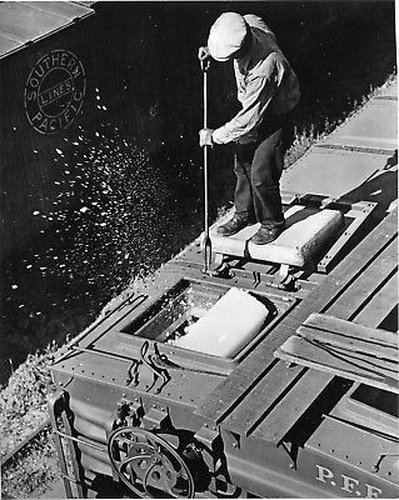
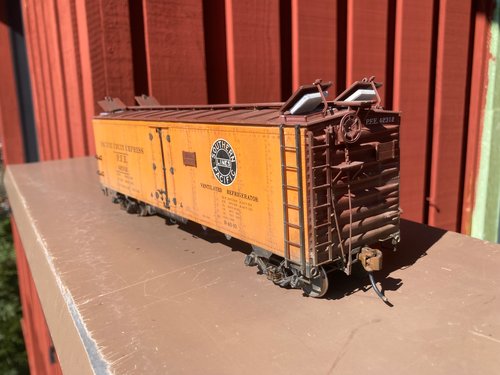
The usual purpose of the car was to serve as a rolling freezer. Huge amounts of ice were manually thrown down into the bunker at icing stations to keep the perishables fresh on their long way to the markets. On certain comodities, such as potatoes, it was sufficient to run the car in ventilation mode, no ice was added but the hatches opened to provide a fresh stream of air. Empty cars were hauled with the hatches in closed position. Tony Thompson has a great site where he explaines reefer service in detail.
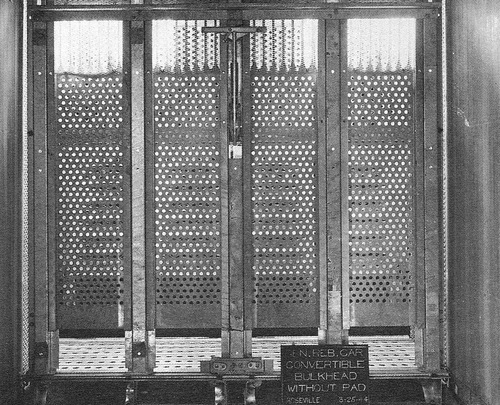
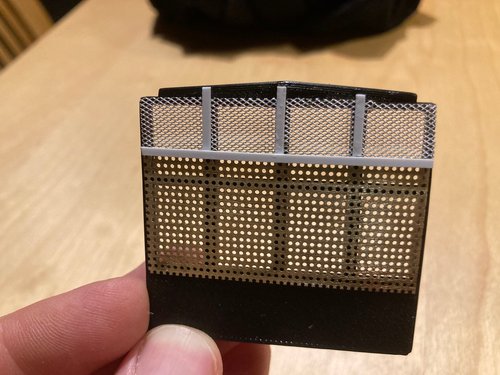
PFE’s steel sided ice reefers were equipped with removable bulkheads that could be put aside to make even more room should the ice bunker not be used. I’ve designed a very simple frame and glued some wire mesh material from the architecture strore in place. All coated with some aluminium paint and that’s all it really takes. Tamiya grey primer is used very gently to not clogg the mesh. Be sure to paint the side walls, these can be seen from some angles.
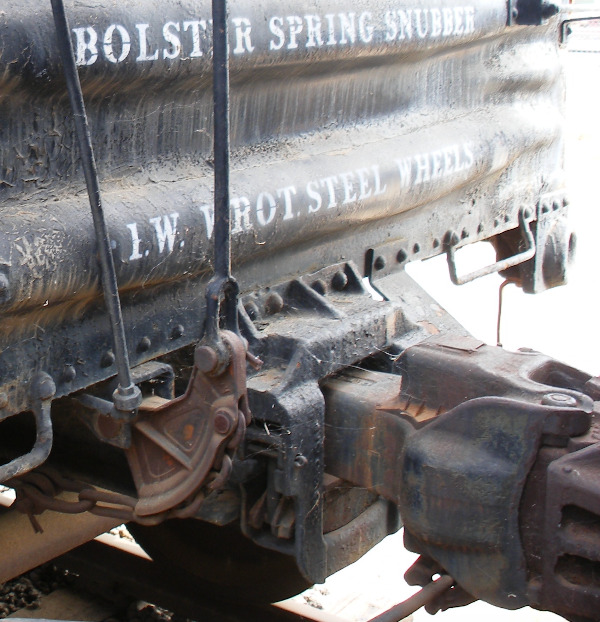
Realistic Draft Gear
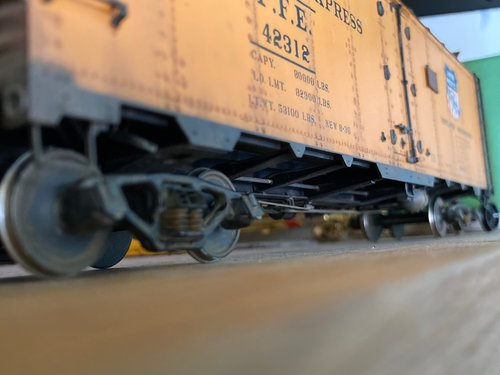
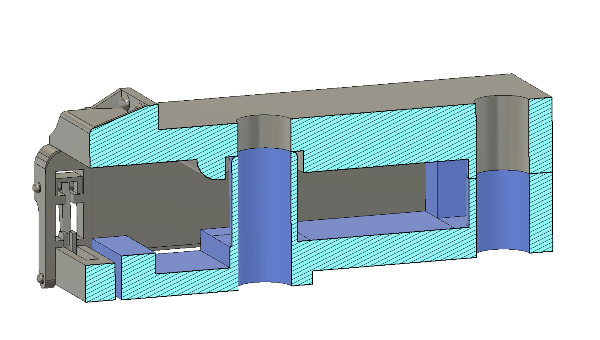
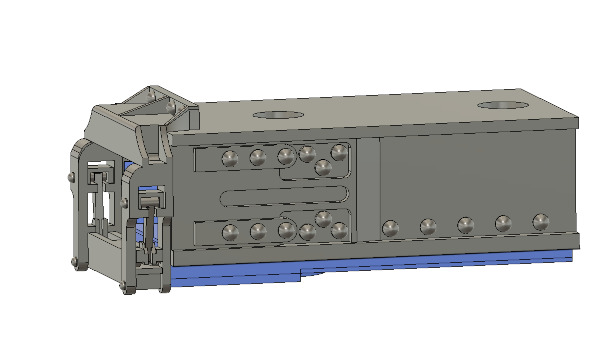
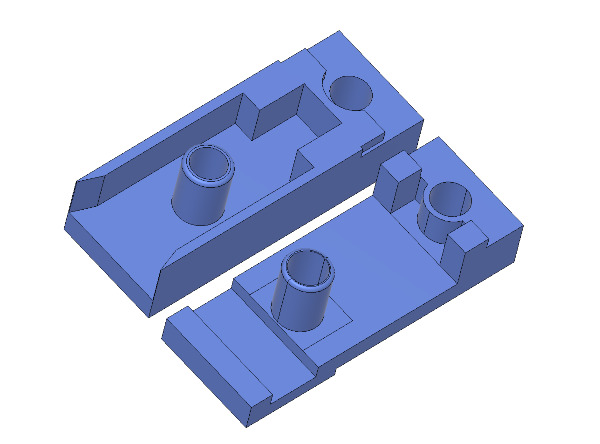
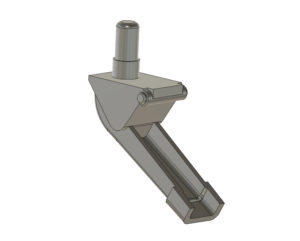
If you think the Kadee coupler box is too wide, here’s a nice addition to your reefer kit. The new draft gear box consists of an universal upper part and two interchangeable lower parts for Kadee and Protocraft couplers. It simply attaches to the car body but you will need to drill new holes for the mounting screws as they don’t match those on the IM kit. Spring load your couplers as usual.
Draft gear box files including both Kadee and Protocraft adapter plates. The ZIP contains two styles of coupler boxes, one is slim and the other is slightly broader and closely matches the InterMountain underbody countours.